
Cold burritos are a common kitchen dilemma. Whether you’re a student, a busy professional, or a family living in a hurry, reheating a burrito so it tastes like freshly made can feel tricky. The best way to reheat burrito is vital if you want to keep the tortilla from becoming mushy and the fillings from drying out. This guide gives you clear, step‑by‑step methods for achieving that ideal texture and flavor.
In the next sections, you’ll discover the top reheating methods, compare their pros and cons, and pick the one that fits your lifestyle. By the end, you’ll know how to turn any leftover burrito into a delicious meal in minutes.
Why the Best Way to Reheat Burrito Matters
Reheating a burrito properly can transform a sad, soggy mess into a mouth‑watering delight. Poor reheating often leaves the tortilla soggy or the filling dry, ruining the experience. Choosing the correct method preserves the tortilla’s integrity and heats the filling evenly.
Moreover, the right technique saves time, reduces waste, and can even boost the nutritional value by preserving key nutrients that might degrade with improper heating.
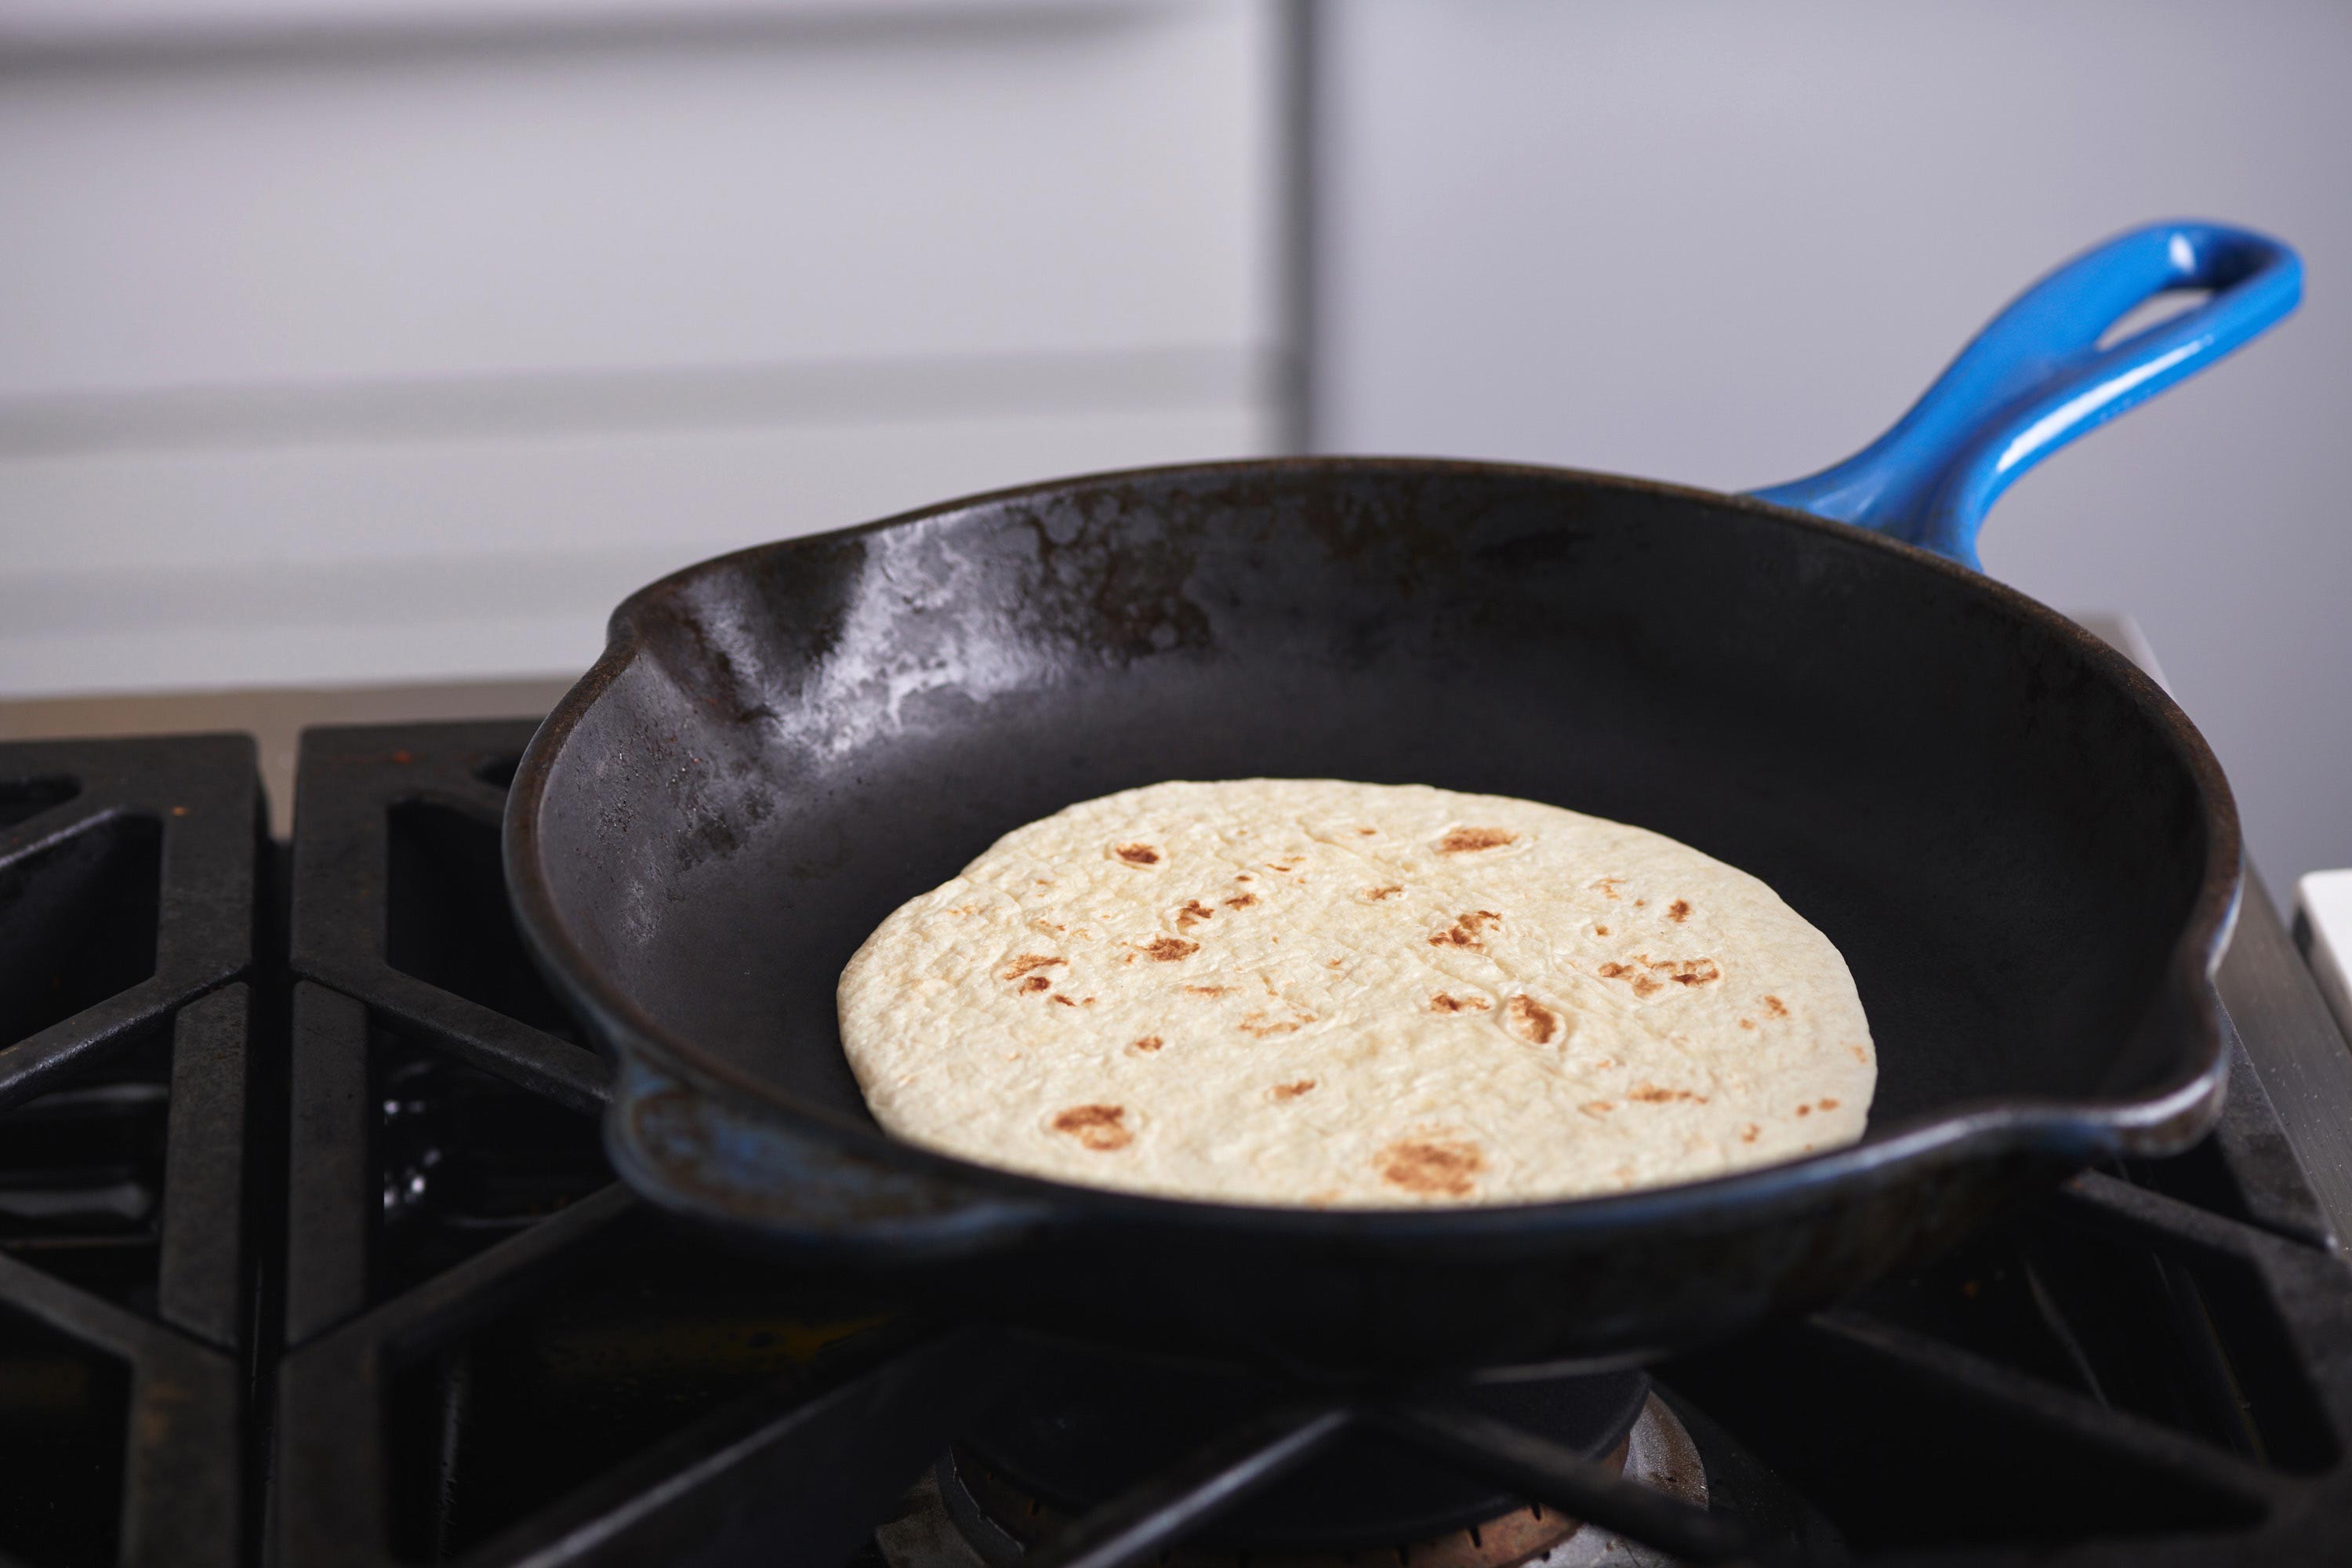
Stovetop Reheating: The Classic Saute Method
1. Wrap in Foil and Sear
Wrap the burrito in aluminum foil to lock in moisture. Place it in a skillet over medium heat for 5–7 minutes, flipping halfway. The foil keeps the tortilla soft while the heat gently warms the filling.
2. Add a Splash of Water
Pour a tablespoon of water at the bottom of the pan before heating. This creates steam that prevents the tortilla from drying out. Cover the pan for a minute to trap the steam.
3. Finish with a Quick Flip
Remove the foil, flip the burrito, and cook for an additional 1–2 minutes to crisp the tortilla slightly. This gives a pleasant texture without overcooking.
Microwave Reheating: Speed and Convenience
1. Slice and Cover
Slice the burrito in half for even heating. Place it on a microwave‑safe plate and cover loosely with a damp paper towel to keep moisture inside.
2. Use Short Bursts
Heat in 30‑second intervals, rotating the halves between bursts. This prevents the tortilla from overheating and becoming rubbery.
3. Check Temperature
Use a food thermometer; the interior should reach 165°F (74°C) for safe consumption.
4. Final Crisp (Optional)
Transfer to a toaster oven or skillet for 1–2 minutes to crisp the tortilla.
Toaster Oven Reheating: The Balance of Heat and Texture
1. Preheat Carefully
Set the toaster oven to 350°F (175°C). Preheating ensures even heat distribution.
2. Wrap in Foil or Paper
Place the burrito in a foil packet or wrap it in parchment paper. This prevents the tortilla from drying out while still allowing browning.
3. Bake Time
Heat for 10–12 minutes, flipping halfway. The tortilla should be warm and slightly crispy.
Oven Reheating: The Classic Whole‑Body Heat
1. Prepare the Burrito
Wrap the burrito in foil and place on a baking sheet. This keeps the tortilla moist and reduces cooking time.
2. Bake at 375°F (190°C)
Heat for 15–18 minutes. A higher temperature ensures the filling is hot throughout.
3. Check for Doneness
Remove the foil and check the internal temperature. If it’s under 165°F (74°C), bake an additional 3–4 minutes.
Instant Pot Reheating: Pressure Cook for Even Heat
1. Add Liquid
Place 1 cup of water in the inner pot. The steam keeps the burrito from drying.
2. Use the Steam Function
Set the Instant Pot to steam and place the burrito on a steaming rack. Cook for 3 minutes.
3. Finish with a Quick Sear
After pressure release, lightly sear the tortilla in a skillet for 1 minute to restore crispness.
Comparison of Reheating Methods
| Method | Time | Texture | Best For |
|---|---|---|---|
| Stovetop | 7–10 min | Soft & crispy | Hearty fillings |
| Microwave | 4–6 min | Soft | Quick fix |
| Toaster Oven | 10–12 min | Crumbly | Perfect crunch |
| Oven | 15–18 min | Evenly hot | Large portions |
| Instant Pot | 5–7 min | Moist | Low‑fat diets |
Pro Tips for the Best Way to Reheat Burrito
- Use a silicone mat: Prevents sticking to pans and keeps the tortilla intact.
- Reheat in batches: Overcrowding reduces heat efficiency.
- Add cheese before reheating: Melts better and locks moisture.
- Let it rest: A 2‑minute rest after heating allows juices to redistribute.
- Check temperature: Use a thermometer to ensure safety.
Frequently Asked Questions about best way to reheat burrito
1. Can I reheat a burrito in the microwave without drying it out?
Yes, cover it with a damp paper towel and heat in short bursts.
2. Is the oven better than the microwave for reheating?
The oven provides even heat and a crispier tortilla, but it takes longer.
3. How do I keep a tortilla from falling apart?
Wrap it in foil or parchment paper to preserve moisture and structure.
4. Can I freeze a burrito and reheat it later?
Absolutely. Freeze wrapped tightly and reheat using any method above.
5. What’s the safest internal temperature for reheated burrito?
165°F (74°C) ensures all bacteria are destroyed.
6. Does reheat affect the nutritional value?
Proper reheating preserves most nutrients; avoid overcooking.
7. Can I add fresh toppings after reheating?
Yes, fresh salsa, guacamole, and lettuce add flavor without compromising texture.
8. Is there a difference between reheating a bean burrito and a steak burrito?
Bean burritos heat slightly faster; steak burritos benefit from a brief sear to restore flavor.
9. How long can I keep a reheated burrito in the fridge?
Store in an airtight container for up to 3 days.
10. What if my burrito is too big for the microwave?
Cut it into smaller portions or use a larger appliance like a toaster oven.
Choosing the best way to reheat burrito depends on your time, equipment, and texture preference. Whether you opt for the stovetop, microwave, or oven, the key is to maintain moisture and heat the filling evenly.
Give these methods a try and enjoy a burrito that tastes almost brand‑new. Share your favorite reheating trick in the comments below, and don’t forget to bookmark this guide for quick reference!

