
Car dents and scratches can be a major source of frustration for vehicle owners. They not only diminish your car’s appearance but can also lower its resale value. While professional body shops offer convenience, many drivers are turning to do‑it‑yourself (DIY) solutions to save money and gain a sense of accomplishment. This article delivers the best tips for diy auto body repair, empowering you to tackle common damage with confidence.
We’ll cover everything from basic assessment to finishing polish, with step‑by‑step guidance and expert tricks. Whether you’re a seasoned mechanic or a weekend hobbyist, these insights will help you achieve a showroom‑quality look without the hefty price tag.
Assessing Damage: The First and Most Critical Step
Identify the Type of Damage
Before picking up a tool, examine the car’s surface carefully. Distinguish between dents, scratches, and structural damage. A small dimple can often be lifted, but a deep gouge may require filler.
Check for Paint Cracks or Rust
Look for paint cracking, flaking, or signs of rust. If rust is present, treat it promptly to prevent spread. Clean the area with soap and water, then dry thoroughly.
Map Out Your Repair Plan
Sketch a rough plan of action. Note which areas need dent removal, which need sanding, and where paint touch‑ups are required. This roadmap prevents wasted effort and keeps the process organized.
Tools and Materials Every DIY Auto Body Kit Should Include
Essential Repair Tools
- Body filler (e.g., Bondo) for deep dents
- Sandpaper sheets (80, 120, 220, 320 grit)
- Hand-held sander or orbital sander
- Rubber dimple puller kit
- Polishing compound and microfiber towels
- Primer and matching paint spray cans or a paint gun
- Protective gloves, goggles, and respirator mask
Quality Materials Make a Difference
Invest in a reputable brand of body filler and paint. Cheaper products may save money upfront but can lead to poor adhesion and a dull finish.
Organize Your Workspace
Keep tools within arm’s reach. A clean, well‑lit area reduces errors and speeds up the repair process.
Step‑by‑Step Guide to Fixing a Small Dimple
Prepare the Surface
Clean the area with rubbing alcohol to remove oils. This ensures proper adhesion of filler and paint.
Fill the Dent with Body Filler
Mix the filler to a toothpaste‑like consistency. Apply it over the dent, slightly higher than the surrounding area. Let it cure as per the manufacturer’s instructions.
Sand Until Smooth
Start with 80 grit to level the filler, then progress to 120 and 220 grit. Finish with 320 grit for a glossy surface.
Prime and Paint
Apply a thin coat of primer. Once dry, spray or brush on a matching paint color. Use multiple light layers instead of one heavy coat.
Polish for a Mirror Finish
After the paint dries, use a polishing compound and a microfiber towel to bring out shine. A clear coat can be applied for extra protection.
Advanced Techniques for Deeper Dents and Rough Surfaces
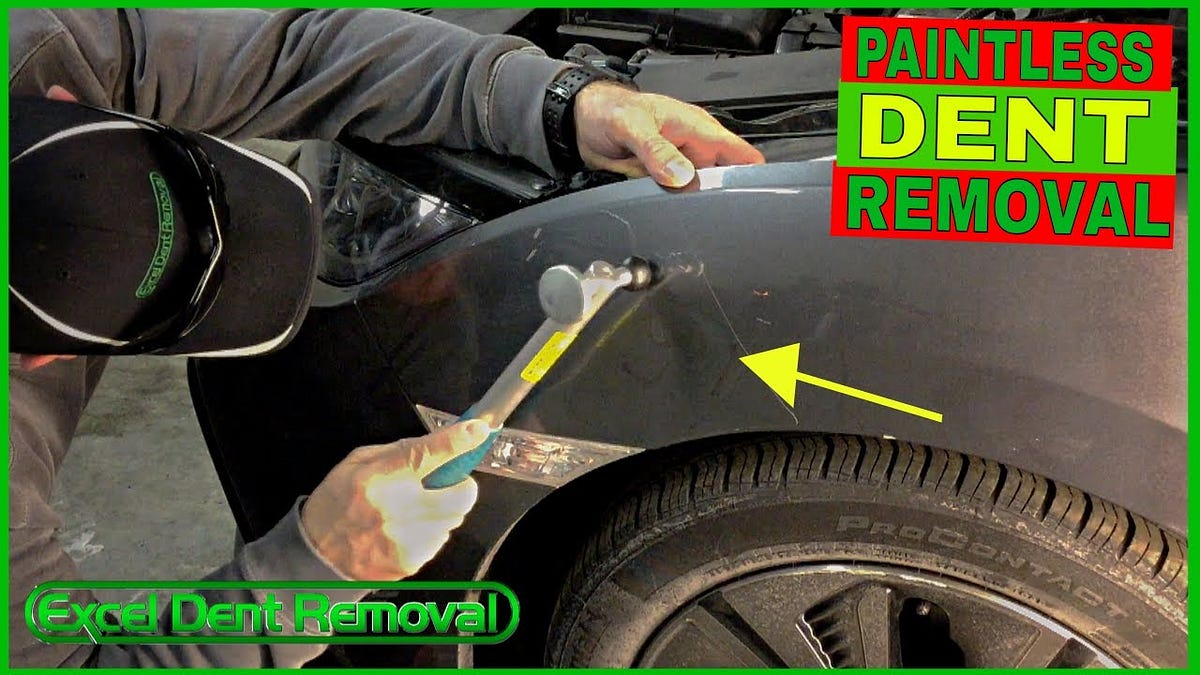
Using a Dimple Puller for Larger Dents
Attach a rubber dimple puller to the affected area. Gently apply pressure until the dent pops back. This method preserves the original paint.
Repairing Scratches with Scratch Repair Kit
Apply a scratch filler to the groove, sand lightly, then match the paint. Finish with a clear coat for durability.
Addressing Rusted Panels
Remove rust with a wire brush, apply rust converter, then sand smooth. Proceed with filler and paint as described earlier.
Comparing DIY Repair Kits: What to Look For
| Feature | Kit A | Kit B | Kit C |
|---|---|---|---|
| Includes body filler | Yes | Yes | Yes |
| Available paint colors | 5 | 10 | 3 |
| Warranty offered | 6 months | 12 months | No |
| Price (USD) | $45 | $70 | $30 |
| Ease of use rating (1-5) | 4 | 3 | 5 |
Choosing the right kit depends on your repair needs, budget, and skill level. Kits with more color options and higher ease-of-use ratings are ideal for beginners.
Pro Tips for a Seamless Finish
- Use a masking tape to protect adjacent areas. This prevents accidental overspray.
- Always sand in a circular motion. It reduces swirl marks in the final paint.
- Let each coat dry fully. Rushing can cause peeling.
- Test a small spot first. Verify color match before full application.
- Apply a clear coat. It locks in color and adds shine.
Frequently Asked Questions about best tips for diy auto body repair
How long does a DIY dent repair take?
Typically 2-4 hours, depending on the dent size and drying times for filler and paint.
Can I use regular household paint for body repairs?
No. Automotive paint is designed for high durability and weather resistance.
Is it safe to work with body filler fumes?
Yes, if you use a respirator mask and work in a well‑ventilated area.
What if the paint doesn’t match perfectly?
Use a color-matching service or purchase a matching paint spray from the same brand.
Do I need a spray gun for painting?
You can use spray cans for small areas; a spray gun offers smoother coverage for larger panels.
Can I repair deep rust holes with body filler?
For deep holes, first fill with a rust-resistant patch, then apply filler on top.
Will my repair last the same as a professional job?
With proper prep, tools, and patience, a DIY repair can last as long as a professional one.
When should I seek professional help?
If the damage is extensive, involves structural parts, or you’re unsure, consult a professional.
Can I repaint my whole car with a DIY kit?
Yes, but it requires advanced skills, ventilation, and a larger budget.
What safety gear is essential?
Gloves, goggles, and a respirator mask protect against chemicals and dust.
Repairing your car’s body can feel daunting, but with the right tools, a clear plan, and these best tips for diy auto body repair, you’ll achieve results that rival professional work. Start with a clean workspace, follow each step carefully, and take the time to finish with a polish. Your vehicle will look refreshed, and you’ll save money while gaining invaluable skills.
Ready to tackle your next repair? Gather your kit, roll up your sleeves, and transform your ride today. If you found this guide helpful, share it with friends or leave a comment below – we’d love to hear about your success stories.

