
Ever stared at a warped, dusty window tint and wondered how to get rid of it without damaging the glass? You’re not alone. Removing window tint can be a surprisingly tricky task, especially if the film has been on for years. Knowing the best way to remove window tint saves time, money, and frustration.
This guide walks you through seven tried‑and‑true methods. From DIY hacks to professional services, we cover tools, safety tips, and the science behind each technique. By the end, you’ll know which approach fits your skill level and budget, and how to achieve a crystal‑clear finish every time.
Why Removing Window Tint Matters
Window tint performs several functions: it blocks UV rays, reduces glare, and adds privacy. Over time, however, it can yellow, crack, or peel, compromising both aesthetics and safety. Removing old tint restores clarity, improves natural lighting, and allows you to install a new, high‑quality film that offers better UV protection.
Moreover, proper removal prevents streaks, bubble traps, and residue that can diminish the new tint’s performance. Knowing the best way to remove window tint ensures you protect your vehicle’s glass and maintain its resale value.
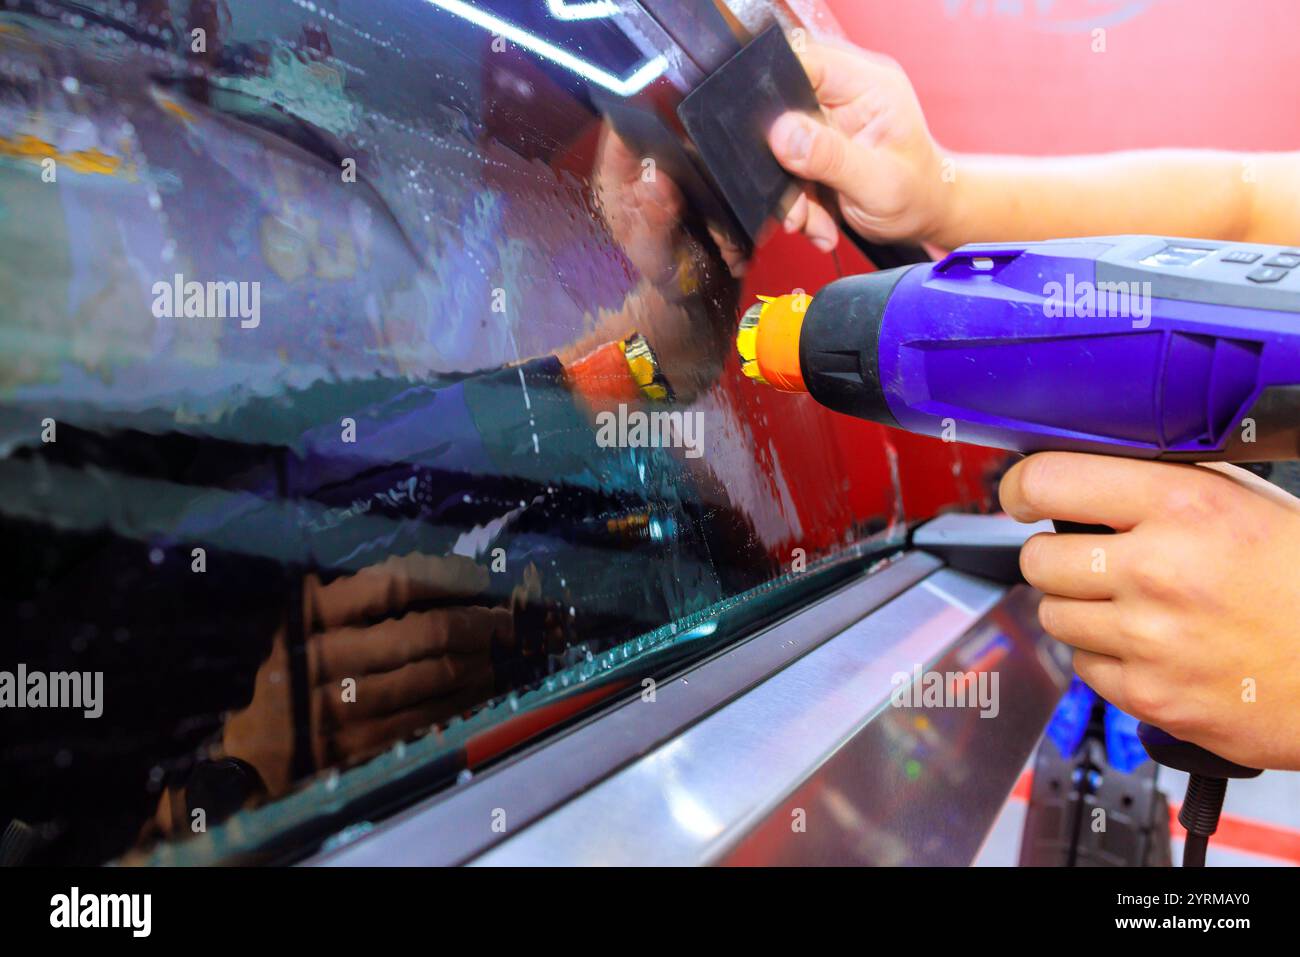
Method 1: The Classic Heat and Peel Technique
What You’ll Need
- Heat gun or hair dryer (high‑heat setting)
- Plastic squeegee or credit card
- Glass scraper or razor blade
- Microfiber towels
- Water and soap solution
Heating the film softens its adhesive. A heat gun is ideal because it delivers consistent, directed heat and reduces heat spread to the glass. A hair dryer can work, but it may require more time and careful handling.
Heat the tint in small 6‑inch sections, moving the gun briskly to avoid overheating the glass. Once the film bubbles, slide the squeegee under the edge. Peel slowly, backing up with the heat gun if resistance increases. Where adhesive lingers, a razor blade can help scrape it cleanly.
Finish by rinsing with soapy water and wiping with a microfiber towel. This method offers the best balance of speed, effectiveness, and low cost. It’s ideal for those who prefer a hands‑on approach.
Safety Precautions
Wear heat‑resistant gloves to protect your hands from burns. Keep the heat source at least 2 inches from the glass to avoid cracks. Avoid using a blowtorch; the flame can ignite flammable adhesive residues.
Pros and Cons
- Pros: Fast, inexpensive, no chemical waste.
- Cons: Requires steady hands, risk of glass damage if misused.
Method 2: The Water‑Sinking Technique
How It Works
This method uses a gentle mix of warm water, dish soap, and a few drops of vinegar. Apply the solution over the tint with a spray bottle. The mixture penetrates the adhesive, loosening it as you massage the film with the squeegee.
Washing away the adhesive with a soft cloth after peeling ensures no residue remains. This technique is ideal for fragile glass or when you want a chemical‑free removal.
When to Use It
Use the water‑sinking method on newer, low‑adhesion tints that are easier to peel. It’s also suitable for large glass panels where heat could cause uneven expansion.
Pros and Cons
- Pros: No heat required, minimal risk to glass, no strong chemicals.
- Cons: Slower, may not work on thick, layered films.
Method 3: The Chemical Solvent Approach
Common Solvents
- Acetone
- Isopropyl alcohol (70% or higher)
- Specialized tint removal sprays
Apply the solvent to a microfiber towel and rub the tint area. The solvent dissolves the adhesive, making peeling easier. Always test on a small, inconspicuous area first to ensure the glass tolerates the chemical.
Safety Notes
Work in a well‑ventilated area. Wear nitrile gloves and eye protection. Avoid flammable solvents near open flames.
Pros and Cons
- Pros: Effective on stubborn, multi‑layer films.
- Cons: Requires careful handling, can damage the glass if left too long.
Method 4: Professional Removal Services
What to Expect
Professional tint removal shops use advanced tools like ultrasonic cleaners and specialized adhesives. They often offer a guarantee on the final glass condition.
Professional services are a great choice if you have a high‑value vehicle or want a guarantee that the glass will remain unscathed.
Cost Breakdown
- Average cost per window: $30–$70
- Full vehicle removal: $200–$400
Method 5: DIY Kits with Heat Rollers
What’s Inside a Kit
- Heat roller (manual or electric)
- Adhesive remover wipes
- Peel lister or stripper tape
These kits are designed for beginners. The heat roller evenly distributes warmth, reducing the risk of cracked glass. After heating, the adhesive remover wipes soften the glue, and the stripper tape lifts the film cleanly.
Advantages
- All-in-one solution, minimal tools.
- Lower learning curve compared to a heat gun.
Comparison Table: Which Method Suits Your Needs?
| Method | Speed | Cost | Skill Level | Best For |
|---|---|---|---|---|
| Heat and Peel | Fast | Low | Intermediate | Most vehicle types |
| Water‑Sinking | Moderate | Very low | Beginner | Newer, low‑adhesion films |
| Chemical Solvent | Moderate | Low | Intermediate | Stubborn, multi‑layer films |
| Professional Service | Fast | High | All | High‑value vehicles |
| DIY Heat Roller Kit | Moderate | Low | Beginner | First‑time removals |
Pro Tips for a Flawless Tint Removal
- Always preheat the tint before peeling to avoid tearing.
- Keep a microfiber towel handy to catch any stray adhesive.
- Use a spray bottle to keep the film moist during removal.
- Work in a shaded area to prevent sun‑induced glass cracks.
- After removal, clean the glass with isopropyl alcohol to remove any oily residue.
- Inspect the glass for micro‑cracks before reinstalling new tint.
- Apply a glass sealant to protect the new tint from UV damage.
- Store any leftover adhesive remover solutions in a sealed container for future projects.
Frequently Asked Questions about best way to remove window tint
What is the safest method to remove tint from a car windshield?
Using a heat gun with a plastic squeegee is generally the safest and most effective, as long as you keep the heat source at a safe distance from the glass.
Can I remove window tint without damaging the glass?
Yes. By applying heat gradually and using a squeegee to peel, you minimize the risk of cracking the glass.
Do I need a special solvent to remove old tint?
A strong solvent like acetone works well, but be sure to test a small area first to avoid damaging the glass.
How long does it take to remove tint from a single window?
It usually takes 15–30 minutes per window, depending on the film thickness and method used.
Can I remove tint from a tinted window on a bike?
Yes, but use a lower heat setting or opt for the water‑sinking method to avoid damaging the thin glass.
What should I do if the tint struggles to peel?
Spray a little hot water or solvent on the edge, then reheat. Avoid forcing the film as it can tear.
Is it possible to reapply tint after removal?
Yes, once the glass is clean and dry, you can reapply a fresh tint film.
Can I use household bleach to remove tint?
No. Bleach can damage glass and leave harmful residues. Stick to tested solvents or heat methods.
Will heat damage the car’s paint near the window?
Not if you keep the heat gun at least 2 inches away and move it continuously.
How do I prevent fingerprints on the new tint?
Use a microfiber cloth and apply a glass cleaner before installing the new tint.
Removing window tint need not be a headache. By selecting the method that matches your skill level, tools, and budget, you can achieve a pristine finish and protect your glass. Ready to get started? Grab your heat gun—or a DIY kit—and bring those cloudy windows back to life. If you prefer a hassle‑free solution, reach out to a local tint removal professional today.

