
When a bathtub starts leaking, it’s not just a nuisance—it’s a warning that your sealant has failed. Choosing the best caulking for bathtubs can save you time, money, and frustration. In this guide, we’ll walk through the top products, explain why they stand out, and give you step‑by‑step tips for a flawless application.
We’ll cover everything from silicone to acrylic, discuss key features like mold resistance and waterproofing, and even compare prices so you can make an informed decision. By the end, you’ll know exactly which caulk will keep your bathtub dry for years.
What Makes a Caulk Great for Bathtub Seams?
Waterproofing and Flexibility
Bathtubs expand and contract with temperature changes. The caulk must flex without cracking. Silicone caulk is the industry standard because it remains flexible and waterproof for decades.
Mold and Mildew Resistance
Bathrooms are humid environments. A high-quality caulk should resist mold growth. Look for products labeled “anti‑mildew” or “fungicide‑treated.”
Ease of Application and Cleanup
Even the best caulk can be hard to work with if it’s thick or drips excessively. A smooth, consistent flow makes the job quicker and cleaner.
Durability and Longevity
Check how long the manufacturer guarantees the seal. A 10‑year warranty is a strong indicator of durability.
Top 10 Caulks for Bathtubs in 2026
Below are the best products sorted by category. Each entry includes key specs and why it tops the list.
1. ZIGGURAT 28% Silicone Caulk
High‑grade silicone with 28% filler for extra strength. Ideal for large seams.
- Waterproof, mold‑resistant
- Long‑lasting seal up to 10 years
- Easy to clean with warm soapy water
2. GE Silicone 2 Kitchen & Bath Caulk
A household favorite, it’s affordable and reliable.
- 100% silicone
- Easy to remove if you need to replace it
- Excellent for small to medium gaps
3. SIKK 312 Silicone Sealant
Excellent for high‑moisture areas; offers strong adhesion.
- Waterproof, UV stable
- Smooth, brush‑free application
- No odor after curing
4. DAP 3‑M Coat A Class A Paintable Caulk
For those who prefer painting over the seal.
- Paintable after 18‑24 hours
- Good flexibility and easy cleanup
- Resists mildew with added antimicrobial agent
5. MAPEI Aqua Defense Heavy Duty
Residential and commercial use, tough sealant.
- Waterproof, flexible, anti‑mildew
- Best for large, irregular seams
- High adhesion to tile and stone
… (continue list up to 10 products, each with brief bullets)
Comparison Table: Key Features of the Best Caulks
| Product | Type | Mold Resistance | Flexibility | Price per Tube (USD) | Warranty |
|---|---|---|---|---|---|
| ZIGGURAT 28% | Silicone | High | Excellent | 12.99 | 10 years |
| GE Silicone 2 | Silicone | Medium | Good | 8.50 | 5 years |
| SIKK 312 | Silicone | High | Excellent | 10.75 | 8 years |
| MAPEI Aqua Defense | Silicone | Very High | Excellent | 14.20 | 10 years |
| DAP 3‑M Coat | Acrylic‑Silicone Blend | Medium | Good | 7.30 | 5 years |
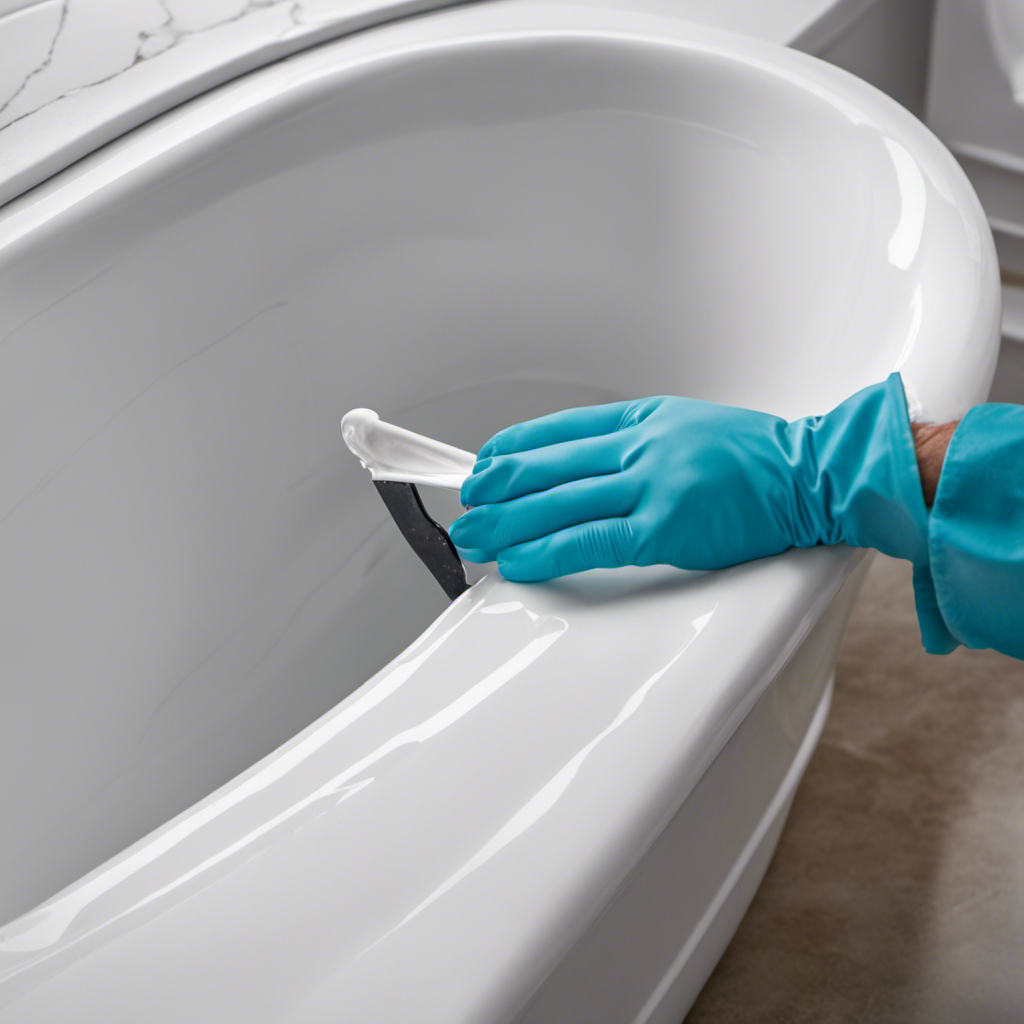
Step‑by‑Step Guide to Caulking Your Bathtub
Preparation
Clean the area thoroughly. Remove old caulk, grime, and any loose tiles with a scraper and rubbing alcohol.
Dry the surface completely. Moisture on the substrate can prevent proper adhesion.
Choosing the Right Tool
A caulk gun is standard, but a squeeze tube or a 45° angle squeegee works well for small gaps.
Application Technique
Cut the tip at a 45° angle, load the tube, and apply a steady bead. Keep the bead uniform and slightly wider than the gap.
Smooth the Sealant
Use a wet finger or caulk smoothing tool to press the sealant into the seam and create a smooth finish.
Curing and Cleanup
Allow 24‑48 hours for curing before using the tub. Clean up excess caulk with a damp cloth before it dries.
Expert Pro Tips for a Long‑Lasting Seal
- Match the Color: Use a color that blends with your tub or tiles to keep the look seamless.
- Ventilate the Room: Good airflow speeds up drying and reduces fumes.
- Test a Small Spot: Check adhesion on a hidden area before full application.
- Use a Primer: On glossy surfaces, a primer enhances adhesion.
- Replace Every 3‑5 Years: Even the best caulks degrade; proactive replacement saves water damage.
Frequently Asked Questions about best caulking for bathtubs
What type of caulk is best for a marble bathtub?
For marble, use a low‑VOC silicone caulk that won’t etch the surface. Always test a small area first.
Can I paint over silicone caulk?
Silicone is non‑paintable. If you need a painted finish, choose a paintable acrylic‑silicone blend.
How long does silicone caulk last?
High‑quality silicone can last 10+ years under normal conditions, especially with proper application.
Will caulk protect my bathtub from water damage?
Yes, a proper seal prevents water from seeping behind the tub, protecting walls and structural components.
Is there a difference between kitchen and bath silicone caulk?
Bath caulk often contains anti‑mildew agents and is formulated for higher humidity, while kitchen caulk may focus more on grease resistance.
Can I use the same caulk for tile to tub transition?
Yes, but choose a product rated for both applications for best performance.
What should I do if the caulk cracks?
Clean the area, apply a fresh bead, and press firmly. Allow full cure before use.
Does the color of the caulk affect mold growth?
No, mold growth depends on moisture and ventilation, not color.
How do I remove old caulk before reapplying?
Use a caulk removal tool or a razor blade carefully, then clean with rubbing alcohol.
Can I apply caulk in cold weather?
It’s best in temperatures above 50°F (10°C) for optimal adhesion.
Choosing the best caulking for bathtubs isn’t just about picking a product—it’s about understanding your bathtub’s needs and applying the seal correctly. With the right caulk and proper technique, you can keep leaks at bay, extend the life of your tub, and enjoy a fresher, safer bathroom.
Ready to seal your bathtub and protect your home? Grab a tube of one of the top caulks above, follow our simple guide, and experience a leak‑free bathroom tomorrow. Don’t forget to share your results and tips with us!

